


Description
Shipping Information
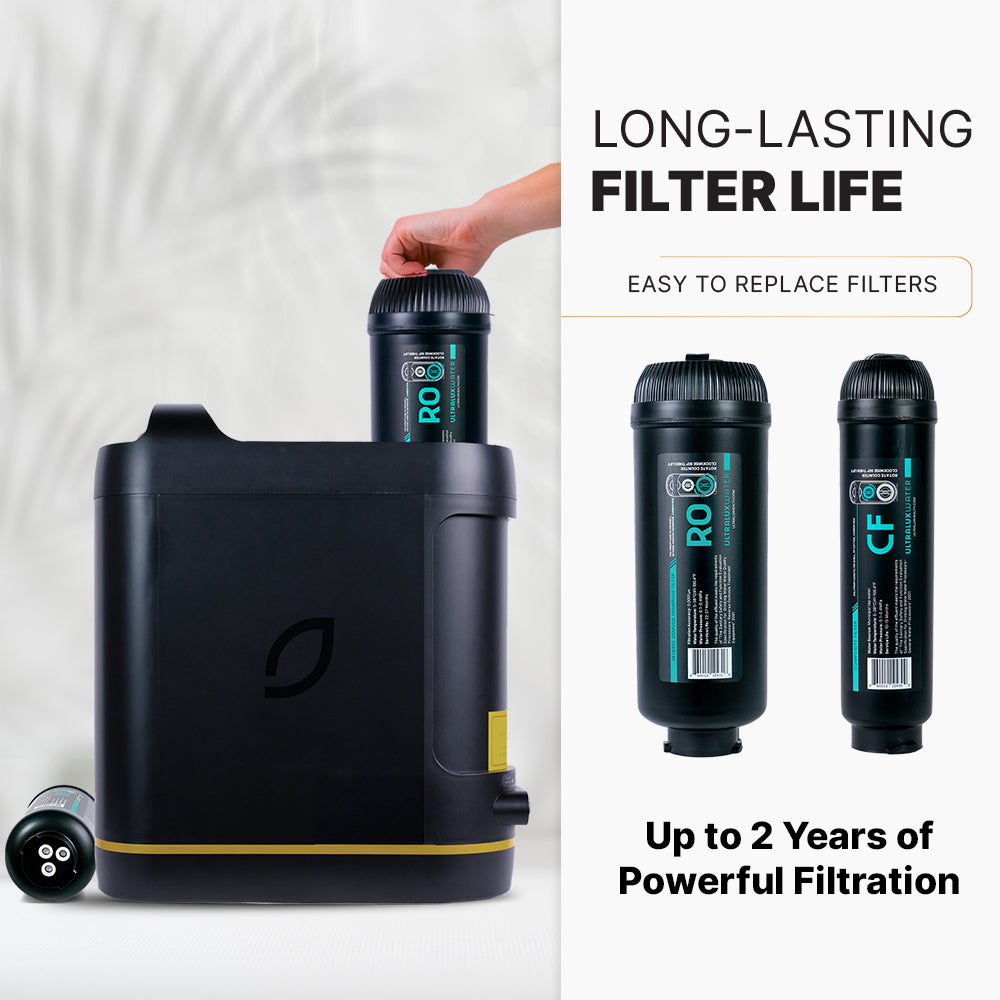
The reverse osmosis membrane (ROCB Filter) is an internal filter that removes chlorine, contaminants, heavy metals, bacteria, protozoa, viruses, and total dissolved solids. The ROCB Filter is designed for and only works in the UltraLux Water Machine.
Filter Components
The ROCB Filter is a 0.0001-micron filter with a reverse osmosis membrane and post-activated carbon block as the active filtering components.
Filtering Capabilities
The ROCB Filter removes the following contaminants:
- Bacteria
- Campylobacter
- Salmonella
- Shigella
- E. coli
- Protozoa
- Cryptosporidium
- Giardia
-
- Viruses
- Enteric
- Hepatitis A
- Norovirus
- Rotavirus
- Chlorine
- Fluoride
- Heavy Metals
- Arsenic
- Chromium
- Cobalt
- Copper
- Iron
- Lead
- Magnesium
- Manganese
- Mercury
- Nickel
- Selenium
- Zinc
- Total Dissolved Solids (TDS)
- Inorganic salt
- Salt
- Magnesium
- Sodium
- Potassium
- Calcium
- Chlorides
- Bicarbonates
- Sulfates
- Radium
- Sulfate
- Potassium
- Nitrate
- Phosphorous
Filter Life
The ROCB Filter is designed to provide powerful filtration for up to 2 years.
There is an indicator on the UltraLux Water Machine which will notify you when the filter needs to be replaced.
Replacing the Filter
Replacing the ROCB Filter is quite easy.*
- Position the machine where you can access the filters on the top.
- Unscrew the ROCB Filter until it pops up. Twist hard, as the filters need to be secure to prevent leaks.
- Lift the filter out. Caution: the filters can be heavy when filled with water and may drain small amounts of water.
- Lower the new filter into the filter cavity and screw it in.
*See User Manual for more detailed instructions.